


Running a website is a lot like taking care of a house. You want it to look good, feel safe, and make visitors comfortable. One of the most important ways to keep your website safe is by using an SSL certificate. It protects your visitors’ data and shows that your website is trustworthy.
But here’s something many people forget about the SSL certificates is they don’t last forever. They expire after a certain time, usually within a year. When that happens, your website can show scary warnings to visitors. That’s why learning how to renew an SSL certificate is so important.
In this blog post, you’ll learn everything step by step, simply and clearly. Whether you are a beginner or already manage websites, you’ll find it easy to follow and apply.
What Is an SSL Certificate and Why Does Renewal Matter?

An SSL certificate protects the connection between your website and its visitors. It keeps sensitive data, such as passwords, payment details, and contact information, private by encrypting it.
You can usually tell a website has SSL when the address starts with https and shows a padlock icon in the browser.
SSL certificates do not last forever. They strive to maintain strong security standards and reduce long-term risk. When an SSL certificate expires, browsers may show warning messages that make your website look unsafe.
This can scare visitors away and damage trust in your brand. That is why it is important to renew the SSL certificate on time. A valid SSL helps protect users, supports credibility, and keeps your website secure and professional.
Signs Your SSL Certificate Is About to Expire
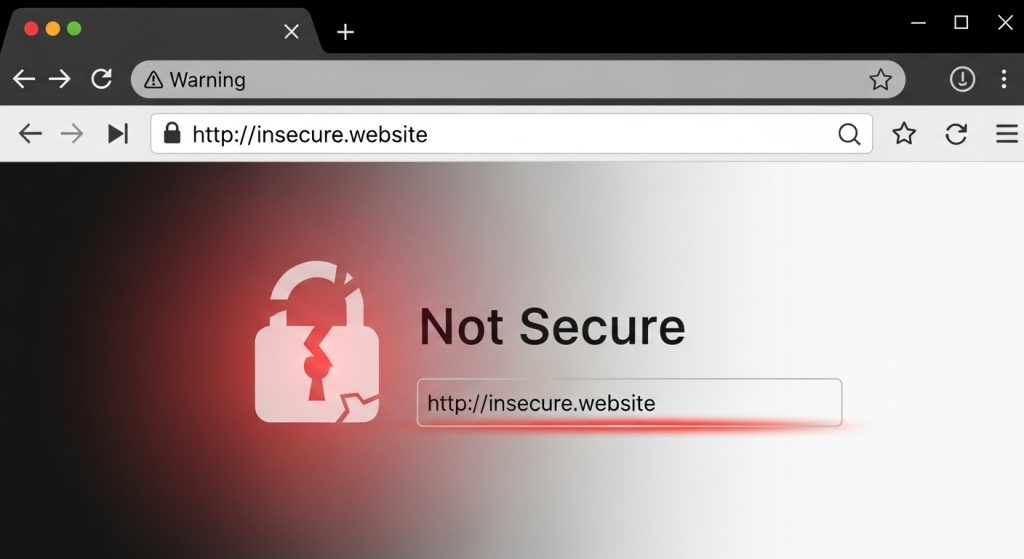
It’s always better to catch problems early, and SSL expiration is no different. Thankfully, there are a few clear signs to watch for. The most common is email reminders from your SSL provider or hosting company, often sent days or weeks before the expiry date.
You may also see alerts inside your hosting dashboard warning that your certificate needs attention. If those signs are missed, browsers may start showing messages such as “Not Secure” or “Your connection is not private.”
These warnings can scare visitors away quickly. By noticing these signs early, you can renew your SSL certificate before it causes any problems.
Step-by-Step Process to Renew an SSL Certificate
The process can look a little different depending on your web host or SSL provider, but the main steps usually stay the same. In most cases, you will need to generate a Certificate Signing Request or CSR, renew or activate the certificate, and then install it on your website.
Step 1: Access Your SSL Provider or Hosting Account
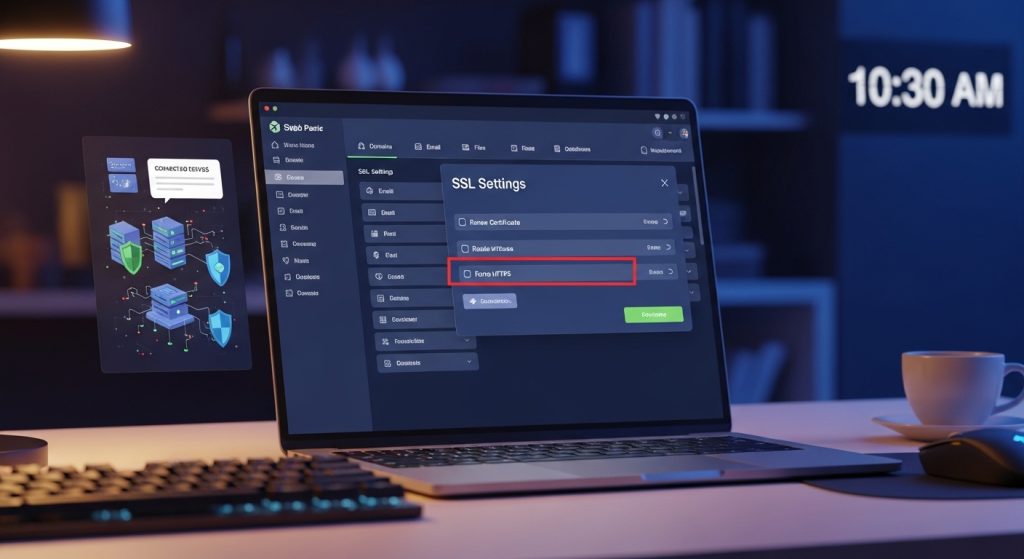
The first thing you need to do is log in to the account where your SSL certificate is managed. For most website owners, this will either be the hosting account or the company where the SSL certificate was purchased.
Once you enter your dashboard, look for a section called Security, SSL, or SSL/TLS. This area usually shows your current certificate, the website domain it covers, and the expiration date.
This step matters because before you renew the SSL certificate, you need to know exactly where it is being managed and whether your hosting company handles renewal automatically or manually.
Taking a moment here also helps prevent mistakes, especially if you manage more than one domain or website.
Step 2: Generate a New CSR Code

After you find your SSL settings, the next step is to generate a new CSR code. CSR stands for Certificate Signing Request, and while the name sounds technical, it is simply a block of text that contains details about your domain and, in some cases, your business.
The SSL provider uses this information to create your new certificate. In most hosting dashboards, you can generate a CSR from the SSL or SSL/TLS section by entering details such as your domain name, city, state, and country.
Once the system creates the code, copy it carefully and save it somewhere safe because you will need it in the next step. This is a key part of the process because the provider cannot properly renew SSL certificate without receiving an updated CSR tied to your domain.
Step 3: Submit the Renewal Request
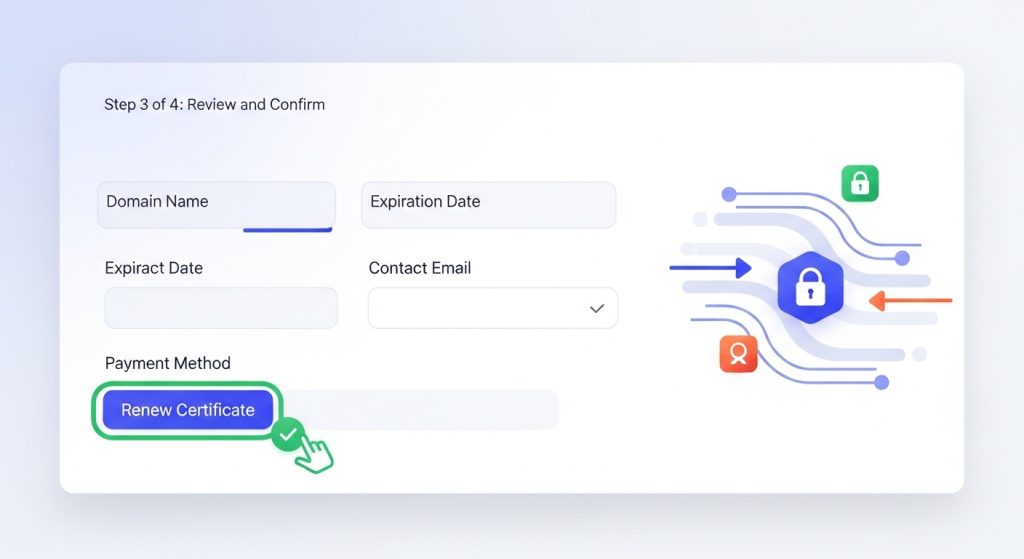
Once your CSR code is ready, go back to your SSL provider or hosting dashboard and find the option to renew or reissue your certificate. This is the stage where you formally request the new SSL certificate for your website.
You will usually be asked to paste the CSR code into a form and then confirm the domain and certificate type. Some providers may also ask you to choose the renewal period and make a payment if the certificate is not part of a free plan.
After you submit everything, the request goes into processing. This step is important because it moves the renewal from preparation into action, and it officially tells the provider that you want to renew the SSL certificate for your domain before the old one expires.
Step 4: Complete Domain Validation

After submitting the renewal request, the SSL provider must verify that you really own the domain. This is called domain validation, and it is an important security measure. Without it, someone else could try to get a certificate for your website, which would be a serious problem.
Providers usually offer a few methods for validation. One common option is email verification, where they send a confirmation link to an approved email address connected to the domain. Another option is DNS validation, which requires adding a special record to your domain’s DNS settings.
Some providers also allow file-based validation, where you upload a small file to a specific folder on your website. Once the provider checks that the validation has been completed correctly, they approve the request and move ahead.
This is one of the most critical steps when you renew SSL certificate, because no new certificate can be issued until your domain ownership is confirmed.
Step 5: Download the Renewed Certificate

Once validation is complete, the SSL provider will issue your renewed certificate. At this stage, you can usually download the certificate directly from your dashboard, or the provider may send it to you by email.
In many cases, you will receive a certificate file along with a CA bundle and any related instructions needed for installation. It is important to store these files carefully and keep them organized, because you will need them to activate the certificate on your server.
Reaching this point means the hard part is done, and your request has been approved successfully.
When people talk about the moment when they finally renew the SSL certificate, this is often the point they mean, because the new certificate is now ready to be installed and used.
Step 6: Install the Renewed SSL Certificate on Your Server
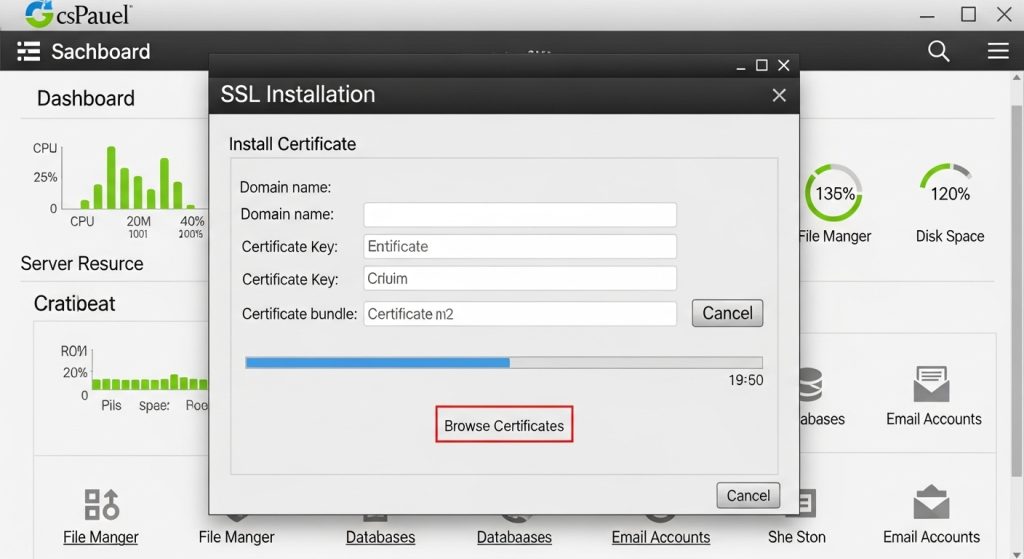
After downloading the renewed certificate, the next step is installation. This is where you replace the old certificate on your website with the new one. If you use cPanel, the process is often simple and beginner-friendly.
You can open the SSL or Manage SSL Sites section, choose your domain, and paste in the certificate details. Some hosting providers also offer one-click installation, which makes the process even easier.
If your website runs on a more advanced setup, such as Apache or NGINX, installation may require uploading the certificate files manually and editing server configuration files. No matter which system you use, the goal is the same: make sure the new certificate becomes active on your site.
This step completes the technical side of how to renew the SSL certificate and brings your renewed security into real use.
Things to Check Before You Renew an SSL Certificate
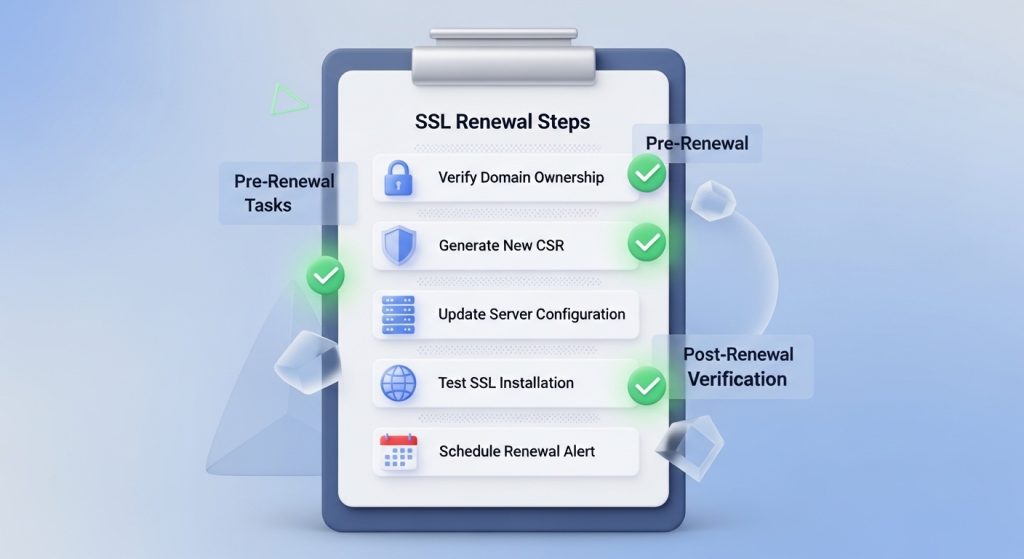
Before you start, take a few minutes to prepare. Make sure your domain is active and still under your control, because renewal will not work if the domain has expired. Check whether your hosting provider offers auto-renewal, and back up your website just to be safe.
It also helps to keep your SSL login details and current certificate information ready so you can renew SSL certificate without delays.
Conclusion
Renewing your SSL certificate is not as difficult as it sounds. When you understand the steps and stay organized, it becomes a simple routine task.
Keeping your SSL certificate up to date protects your visitors, builds trust, and keeps your website running smoothly. When you renew the SSL certificate on time, you ensure your website stays safe and reliable for everyone who visits it.
Frequently Asked Questions
To renew your SSL certificate, log in to your hosting account or SSL provider dashboard, locate your existing certificate, and select the renewal option. You will usually need to generate a new CSR, submit it, complete domain verification, and install the updated certificate. It’s best to start this process a few days before expiry to avoid any downtime.
If your SSL certificate expires, your website will show security warnings in browsers. Visitors may see messages saying the site is not secure, which can cause them to leave immediately. This can lead to loss of trust, reduced traffic, and possible impact on your website’s performance.
Renewing an SSL certificate can take anywhere from a few minutes to a few hours. Simple certificates like domain validation can be issued quickly, while more advanced ones may take longer due to additional verification steps.
Yes, you can renew an SSL certificate for free if you use services like Let’s Encrypt or if your hosting provider includes free SSL with your plan. These certificates often renew automatically, making them a popular choice for many website owners.
You can renew your SSL certificate from the same place where you purchased or manage it. This is usually your hosting provider or SSL certificate provider dashboard. Look for sections like SSL, Security, or Certificates to begin the process.
The cost depends on the type of SSL certificate you use. Basic certificates can be free, while premium options with higher validation levels can cost anywhere from a small yearly fee to higher amounts for advanced security features.
In most cases, yes. Renewing an SSL certificate often involves reissuing it with updated details and a new expiration date. This ensures the certificate remains secure and up to date.
You can check the expiration date by clicking the padlock icon in your browser’s address bar and viewing the certificate details. You can also use online SSL checker tools or check your hosting dashboard for this information.
Renewing your SSL certificate itself does not negatively affect SEO. In fact, keeping your SSL active helps maintain your rankings because search engines prefer secure websites. An expired certificate, however, can harm your SEO if users leave your site due to security warnings.
Yes, you can switch providers when renewing your SSL certificate. This is often called reissuing or replacing your certificate. You will need to generate a new CSR and install the new certificate from the new provider on your server.
Keep Your Website Secure and Hassle-Free
Your SSL certificate is only one part of keeping your website safe. Regular updates and maintenance ensure your site runs smoothly without errors, downtime, or security risks.
We handle the technical side so you can focus on growing your business, while we make sure your website stays secure, fast, and reliable.
Free Support for You
Get 1 Month Free Maintenance Service, including updates, basic security checks, and performance monitoring to keep your website in top condition.
Book your free project consultation call!
We’ll understand your website needs and guide you with the right solutions to improve security, performance, and overall stability.